This post may contain affiliate links, please check out my disclosures page for more info. Thanks!
As promised yesterday, here’s the next project on my craft list. But first, let me share something new and wonderful.

I got it (on sale!) about two months ago, and it’s been entertaining (and distracting) me ever since.
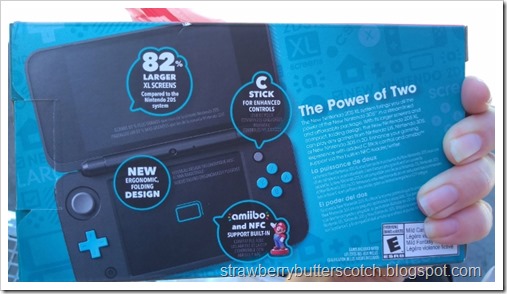
I originally was looking at the cheaper Nintendo 2DS bundles, but I went with this one because the screen was larger and it’s able to play more games.
Anyway, I thought that my nice new handheld gaming console could use a nice case to carry it along with all the games and accessories I find myself lugging around.

Enter the first aid kit case, we sell it at work (I work in a CVS drug store).
There was a deal where if you bought three first aid items you would get a coupon for a free case. Long story short, I now have five free cases. Got to find a use for them all somehow.

It has plenty of built in pockets and a zippered one too. Perfect for storing plenty of things, besides Band-Aids.
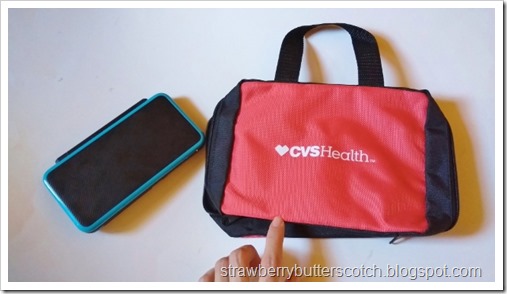
The downside is it isn’t that cute looking. The CVS logo screams medical supplies.

It’s time to fix that, let’s take this plain looking case and make it super cute!

First, I cut two pieces of fabric large enough to cover the sides of the case, plus a little extra to finish the raw edges. I found it easier to cut some paper to the size I wanted first, and then use that as a “pattern”.
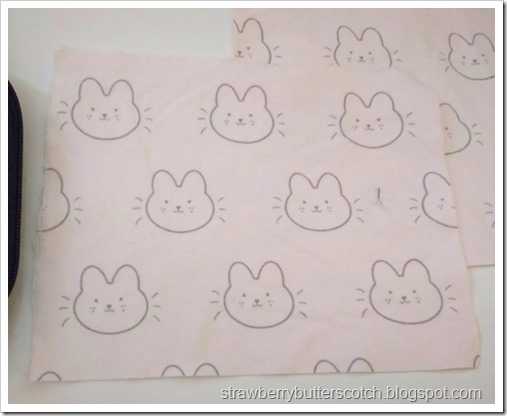
This is the fabric I used, it’s a super cute pink flannel print I found at SAS. I bought several yards of it, so you will be seeing more projects with it.

I cut the corners of the fabric before folding and pinning back the edges. This takes care of those raw edges.

Then I added lace along the edges.

With the fabric all prepped and ready, I pinned it to the sides of the case and carefully sewed it on with a zig-zag stitch.
I used a zig-zag stitch because I knew the stitches would show on the inside, and thought the zig-zags would look cuter.

Add a bow on the front, and the outside of the case is done.
Now for the inside I wanted a little more pocket space, surprisingly.

I cut another piece of fabric the same width as the other ones, but three times the length. I then finished the raw edges by folding them once and zig-zaging around.
I did it that way instead of a regular hem to reduce the bulk, flannel is quite thick.

Then fold the bottom third up, sew the sides and bottom to create an instant pocket….

…Only to realize afterward that I should have sewn on the Velcro before sewing the pocket. It would have been so much easier. Lesson learned.
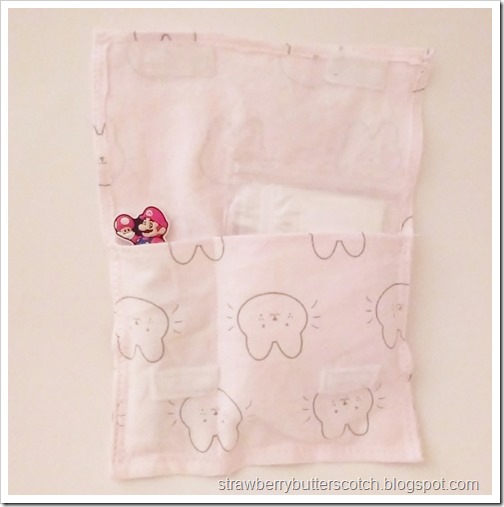
Then I stitched a line down the pocket to make two smaller ones for organizing my junk. The one is for extra styluses, and the other is for screen wipes and other stuff.
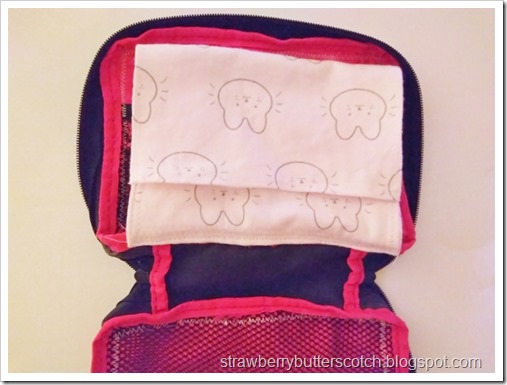
I attached it to the bottom of the case. It kind of reminds me of a binder pencil case now.

And with that the case is finished and ready to fill.

Here I have my chargers and power bank neatly secured in their pockets.

And here, I have my 2DS XL in it’s new pocket along with my game cards in their zippered pocket.

Speaking of games, here’s how I store them to keep them free of dust and scratches. They are kept in what appears to be tiny zip lock baggies when not in use.

These are actually tiny medicine bags I also bought at work. You can find them at most drug stores (Amazon sells some here). They are also handy for storing tiny craft supplies, like beads.
Here’s the updated list:
Three down, three more to go.
Give it a try:


